Welcome to Art with Mrs. French

I've put together this site to showcase some of the wonderful art work my students are creating. Take a look around and enjoy!

We Are Art Smart!

Howard Gardner, Ph.D., professor at Harvard University, first identified seven different kinds of intelligence in his classic book Frames of Mind. His theory has challenged assumptions about intelligence and learning and deeply influenced the path of education in the United States.

Gardner identifies Spatial intelligence as the ability to "think in pictures," to perceive the visual world accurately, and recreate (or alter) it in the mind or on paper. Spatial intelligence is highly developed in artists, architects, designers and sculptors. When we create art, thinking and acting to increase and develop our spatial intelligence, we become Art Smart!

Click here for an interesting article from ARTSEDGE on why being Art Smart is an important 21st century workplace skill.

About me

Julie French

I started my career in advertising as a graphic designer working with some very interesting businesses and non-profits. Click here to see some of that work. After taking time off to start a family, I wanted to combine my two loves — children and art. I'm now in my eighth year teaching art and I love it! My students' creativity amazes me every day, they are a joy to work with.

Contact Me

Parents may reach me through our school website, everyone else please email juliefrench@mac.com.

Entries in Art and Math (8)

Monday
Mar102014

HexaHexaFlexogon Fun

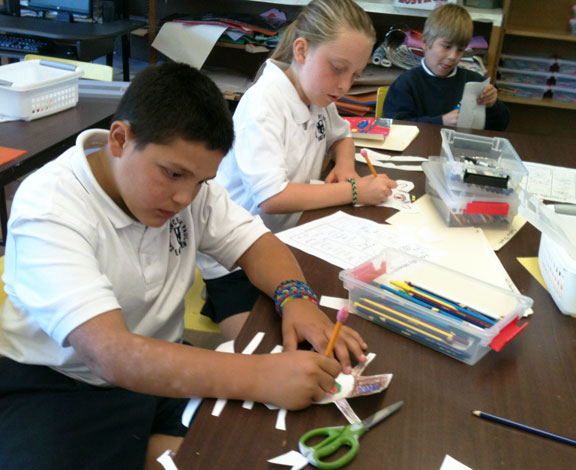
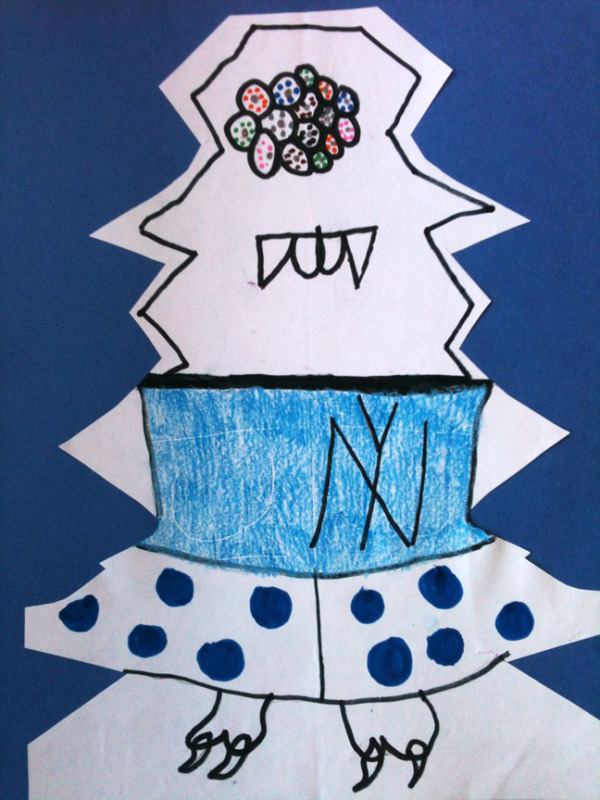
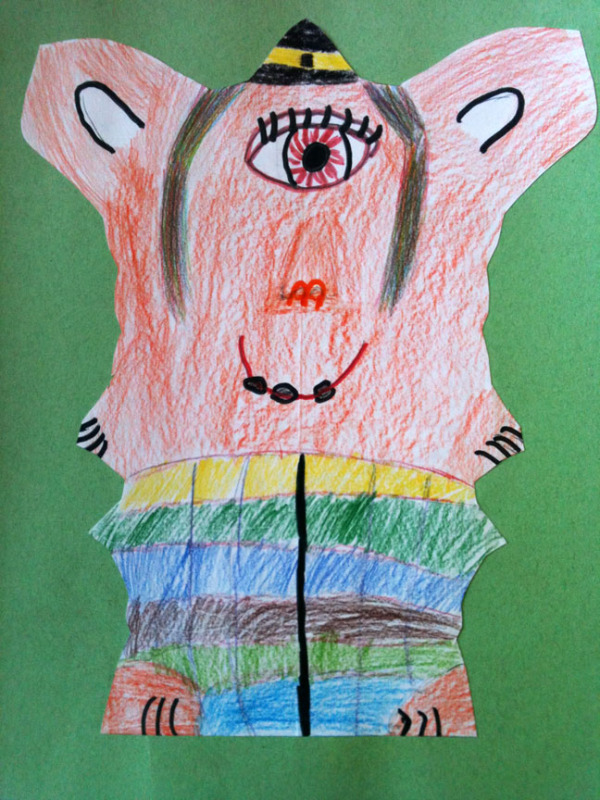
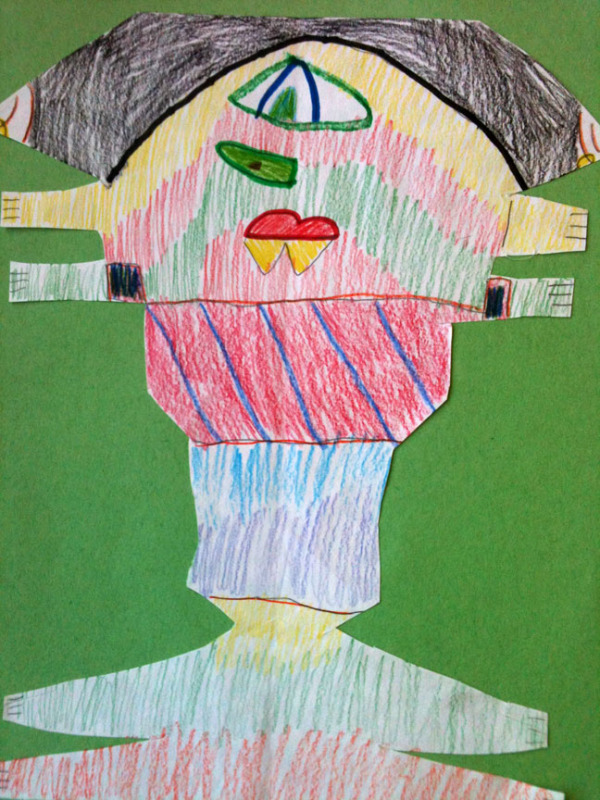
Our 6th and 7th grade classes combined math and art concepts to create these paper HexaHexaFlexogons. They are called that because they have six, six-sided faces made from equilateral triangles within them and you must flex and manipulate the hexagons to view all sides. Because as you flex them, the triangles rotate their positions within each face, there are actually 14 different configurations to view in each flexagon. Click here for an interesting video which explains how HexaHexaFlexagons were invented. Students reviewed the color wheel and designed each face to show the six primary and secondary colors, warm colors, cool colors and three complementary color designs. Below are a few of the flexas they created.


Friday
Oct182013

Name Monsters!

sym·me·try

noun \ˈsi-mə-trē\

: the quality of something that has two sides or halves that are the same or very close in size, shape, and position : the quality of having symmetrical parts

Our 4/5 class used the concept of symmetry (the above definition from the Merriam Webster online dictionary) to create these very cool Name Monsters. First step was to fold an 8" x 10" paper in half and write their name in cursive along the bottom fold. With the paper still folded, students cut all around the top and sides of their name, leaving the bottom fold intact.After opening the cut paper each student had a unique shape with which to fashion their own monster.

Working with marker, crayon or colored pencil our artists added facial features, clothes and anything else appropriate to their funny, sad or scary monsters. Take a look below. Clicking on any image takes you to more monsters!


Thursday
Oct172013

Family Spirals

For this beginning of the year art project, our second and third grade class worked with the concept of spirals. We studied the spiral in nature as well as the environmental art of Robert Smithson and his famous "Spiral Jetty".


Spiral Jetty, Robert Smithson, 1970

Students then created their own spirals on 8 inch squares of white sulphite paper. Since families are so important to our little ones, we filled the spaces in our spirals with the names of our families, friends, pets and other loved ones. The spaces between letters were then colored using water color paints. Final art was the glued to colored paper and then black squares to frame the finished pieces. We noted how some of the art resembled medieval stained glass rose windows. Click on any image below to see more of their great work.

Saturday
Feb022013

Chalk Snowflake Drawings

Winter and snowfall always inspires lots of interesting art projects. After discussing snowflake structure and the concept of symmetry, our 2/3 class used chalk pastels to create these fabulous drawings on black paper. Click on any image to get to the image gallery.


Thursday
Apr262012

More Beauty in Symmetry

The butterflies and symmetry project for the 2/3 class was so sucessful (see the "Of Butterfies and Mathematics" post) I decided to give the first graders a try at creating their own butterfly art. They did an excellent job and all of them really understood the concept of symmetry, which they are also studying in their regular classroom.

Instead of perching on a tree branch, these butterflies are resting in cut paper grass, accompanied by all sorts of other little insects. The students enjoyed the challenge of cutting grass and removing every other blade. When one student was struggling a little with how to do it, another said to her "Just do a pattern; one, two, cut on two" and the first child immediately got it. It's so great to see how they look out for each other! Click on any image to see more.

Friday
Apr132012

Of Butterflies and Mathematics

April is the month when spring really begins to show its lovely side, with warmer temperatures and longer days taking hold. But did you know that April is also Mathematics Awareness Month? To celebrate, our 2/3 class completed a fun spring project that reinforced the important math concept of symmetry.

Butterflies are perfect examples of Reflection Symmetry, where one half of the object is the mirror image of the other. After studying some images of real butterflies, the students learned how to create their own. They folded a sheet of 12” x 18” drawing paper in half, then drew one half of their butterfly at the folded edge with black crayon, being careful to press down hard. Students were encouraged to be creative, adding any designs or patterns to their butterfly they chose.

Next they refolded the drawing with the crayon side facing inward. When they rubbed the backside of the drawing with a craft stick, the black crayon transferred to the other side of the paper. Open it up and you have a butterfly with perfect reflection symmetry! To add color to the butterflies the students painted them with watercolors. Again, color choice was up to each artist, the only rule was to color the wings the same on both sides to maintain the symmetry concept.  The students amazed me with how well they “got” the idea, geometry here we come!

Our butterflies are currently perched on a tree limb in the art room, but you can view them all close up by clicking on the image below.

Friday
Feb102012

More Mandalas

Sixth and seventh grade classes are completing their versions of mandalas, the traditional circular, symmetrical design with Buddhist and Hindu origins. I love how they follow the "rules" for mandala design but are unique reflections of each student artist's personality. Click on any image to get to the picture gallery.


Friday
Jan202012

Mandalas

To explore art from other cultures and understand radial symmetry, students in grades six, seven and eight have been creating mandalas. Mandalas have their origins in Buddhist and Hindu cultures, in fact the word "mandala" means "circle" in Sanskrit. Each student is designing their own mandala, the only rules are they must be circular, show radial symmetry, and be unique to each artist.

The mandalas shown here were done by grade eight, aren't they terrific? If you click on any image you'll go to the picture gallery and see more of them.